Thursday 31 January 2013

Hiking with Kids: The 3 D's of Picking a Kid-Friendly Trail

The choke stone in McGillivray Canyon
I've been looking for more canyon trails since I led a kids hike up Stoneworks Canyon early last summer. The kids loved the canyon's short section of narrow, tight curves and overhanging walls that it had taken water thousands of years to carve out of the limestone. Beyond the curves, the canyon opened up a bit to a boulder strewn creek bed that they had a blast scrambling over.

Recently, I found an even better canyon: McGillivray Canyon. It had about a kilometer of tighter, curvier walls with chains and a ladder bolted into the rock to help climb up and over obstacles and steps. Near the end a giant choke stone was suspended above the canyon floor like something out of an Indiana Jones movie. At 4 km round trip, it was a fun little hike for adults, but it would be an extreme adventure for kids.

See how the actual kids hike to McGillivray Canyon went

Click here for more kids hikes in Banff, Kananaskis, Kootenay and other areas of the Canadian Rockies.

One of the cables over a frozen pond
The problem? I hiked McGillivray Canyon in late January, when there was enough snow and ice to make it a little too extreme for kids. Would it be kid friendly in the summer or was I letting my enthusiasm cloud my judgement? What I saw as Indiana Jones and the McGillivray Choke Stone could easily turn into a kid-size remake of 127 Hours.

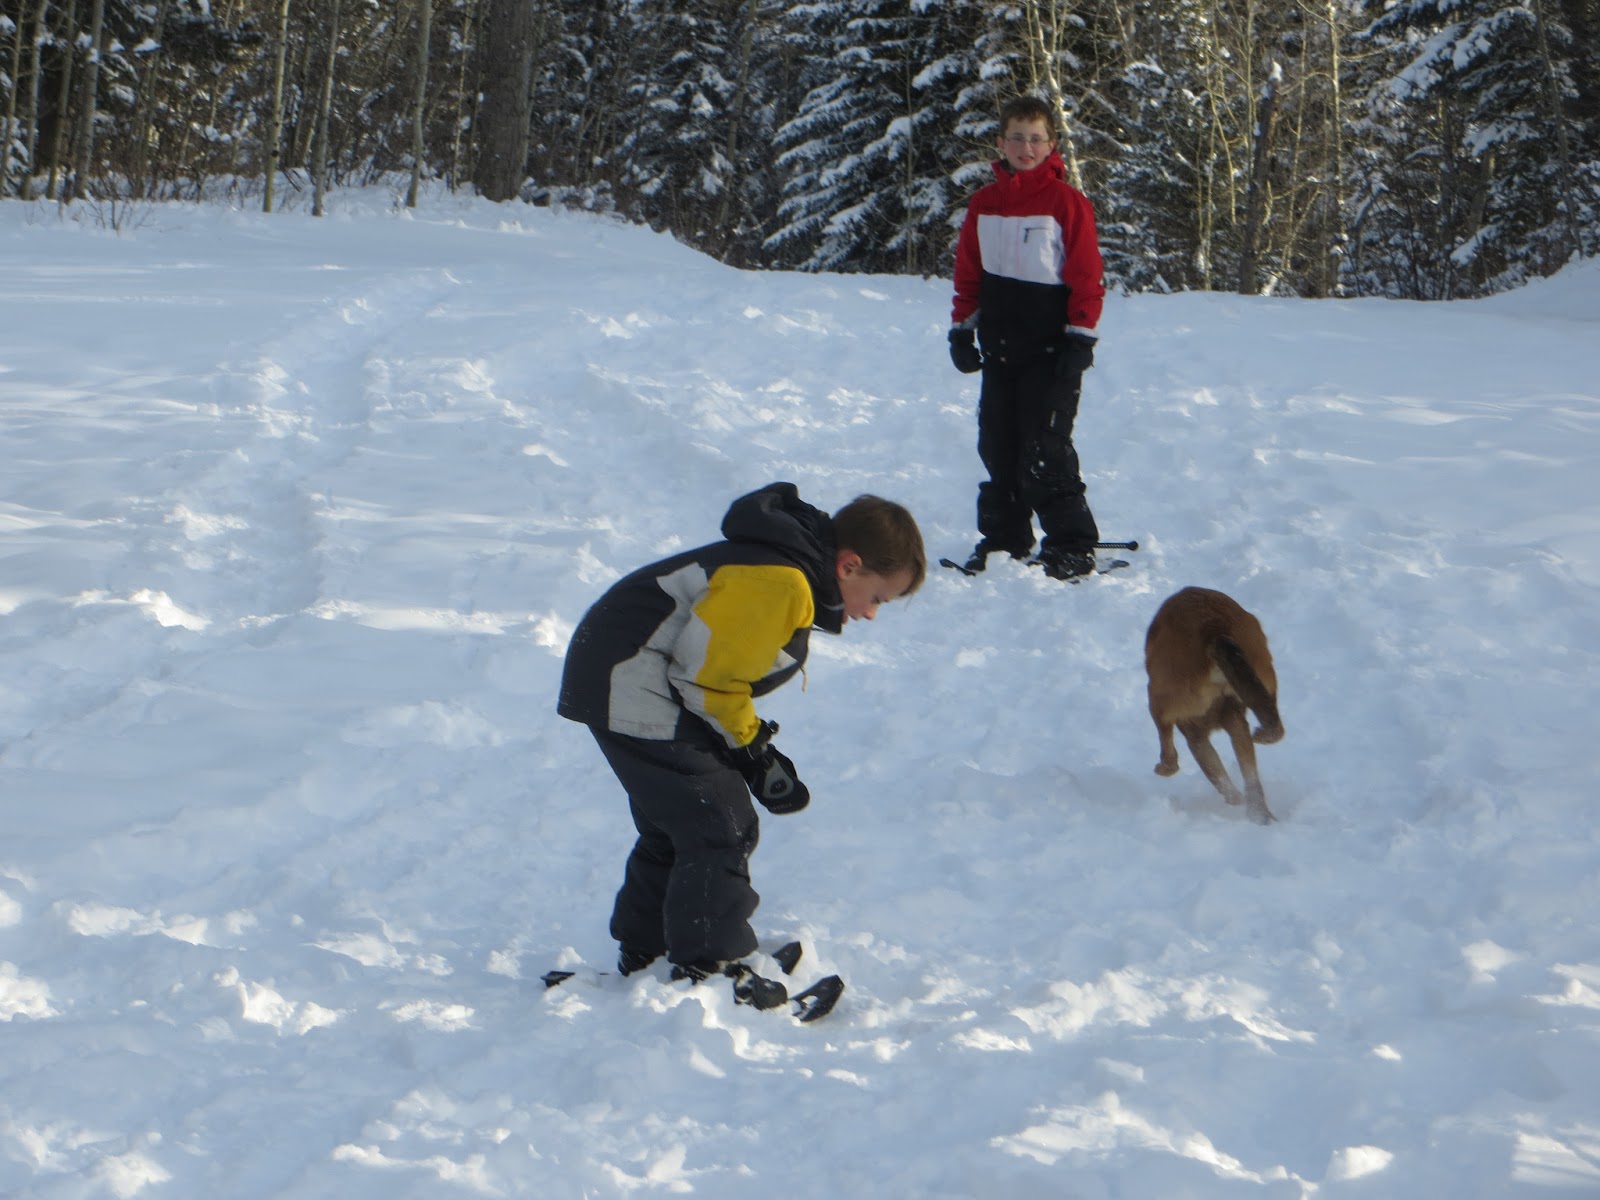
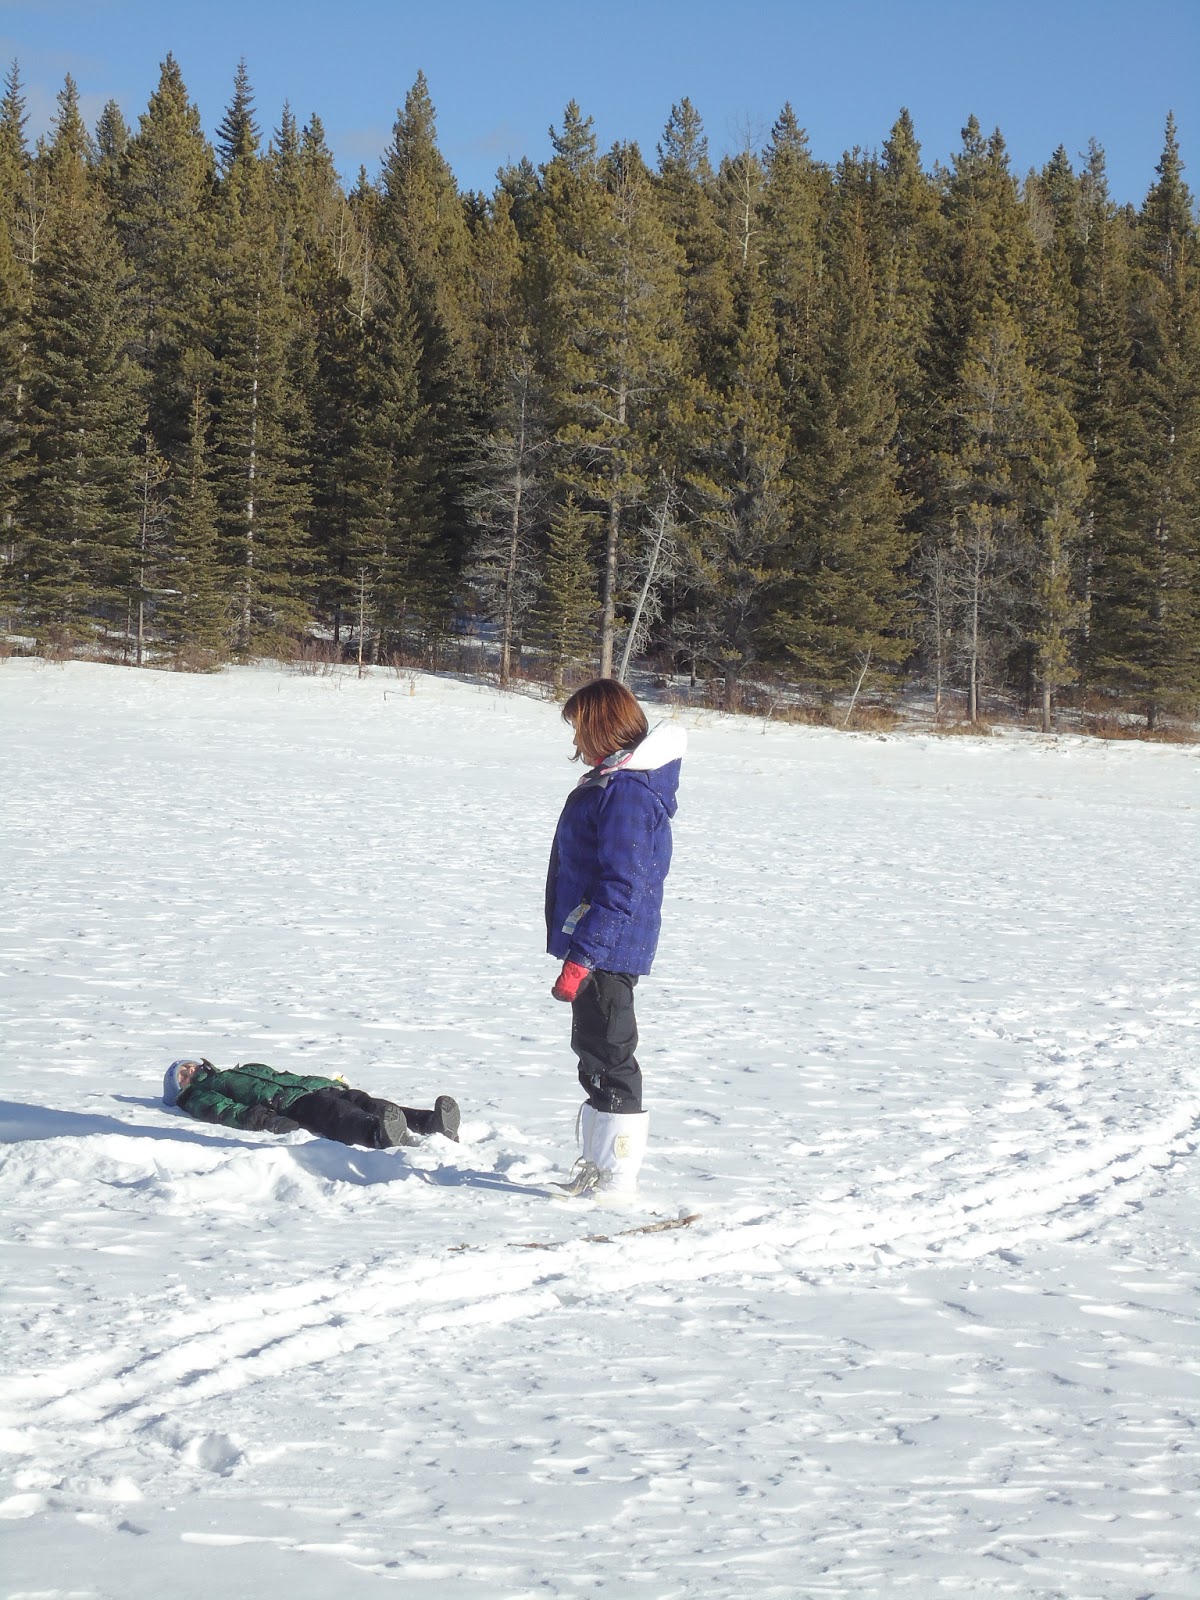
One question I get asked a lot is how I pick my kids hikes. Even experienced hikers ask. Especially experienced hikers. They want to take their kids beyond the usual interpretive trails and standard easy hikes, but they're worried about taking them on a trail too that's too hard or too far. My answer is simple: the 3 Ds of picking a kid friendly trail. Discovery, due diligence, decision.
The Khumbu Icefalls for kids

1. Discovery

I call this the "Aha!" moment. It's when I realize that a trail would be great for kids. In the case of McGillivray Canyon, it was the moment we entered the canyon and I saw the high narrow walls. Then I saw the chains and had a double Aha. In other cases, it's coming across a boulder field for the kids to climb on (see my post on hiking Little Lougheed with kids) or fossils for them to hunt (see my post on hiking Burns Ridge with kids).
Chains to help climb a short step


2. Due Diligence

When I get back home, I start the due diligence process to make sure I haven't missed anything that would rule the trail out or that I should be aware of before taking kids on it. This includes assessing hazards on the route. If possible I talk to other people who have hiked the trail. Other sources of beta (information) include websites with trip reports, Google Images for photos, and guide books.

In the case of McGillivray Canyon, one of the hazards were the many frozen pools in the canyon bottom. They were small and had logs across them, but in January they were frozen and we could walk right over them. There were also cables strung over the logs to hold onto, but some might be too high for kids to reach. Google Images confirmed that the logs did indeed cross standing pools of water in summer, but not how deep they were. Could the kids cross the pools on the logs without excessive risk of going for a dip? If they did go for a dip, what would be the consequences? Could a parent walk through the ponds to help kids out if necessary?

Then there was the source of the water in the pools. How much water flowed in the canyon once the ice melted?
The highest chained section. Tricky with ice, kids should be able to climb it dry.

3. Decision

The ice on a couple frozen ponds had broken, revealing gravel two or three inches below. Talking with people in the Calgary Outdoor Recreation Association (CORA) who'd done the canyon in summer and fall, it sounded like most of the pools were ankle deep. Deep enough to drown in, but not so deep a parent couldn't quickly scoop a kid up. Trip reports on the web suggested that the water was no more than a trickle after the spring run off was finished.
The decision: I'll schedule a McGillivray Canyon kids hike this summer, probably in late July or August--well after spring run off. Stay tuned for the trip report.

Post Script: When I post this kids hike on CORA's website, I'll include a description of the chains, the logs and the possibility of the trickle turning into a torrent if an expected storm hits. Letting other parents know about the hazards is not only a courtesy, it's a responsibility. I appreciate the trust parents put in my judgement when they come on one of my kids hikes, but I can only decide what risks are acceptable to expose my own kids to. It's up to other parents to make the same informed decisions for their own kids.
The boulders at the end.

Tuesday 29 January 2013

Kids Snowshoeing Gear: It All Starts with the Right Winter Boots

Stand up! You're going to get snow in your boots.
The only thing worse than cold wet feet are cold frozen feet. A successful kids snowshoe trip starts with the kids wearing the right foot wear. While I've suggested in a past post on kids hiking gear that kids don't necessarily need hiking boots, equipping them with the right boots on a snowshoe trip can make the difference between a fun winter outing and a painful, cry-filled experience or worse—a trip to emergency for frostbitten toes.

If preventing kids from crying isn't enough, think of boots like sunscreen. Just like a bad sun burn early in life increases your chances of skin cancer later on, getting frostbite once increases the likelihood of getting frostbite in the future. Long-term effects of even a single case of frostbite include heightened sensitivity to the cold, numbness, stiffness, chronic pain and amputation. It doesn't get any longer term than having your toes cut off when you're a kid.

Didn't you hear what I told your brother about lying in the snow?
Here are some tips on how to choose a boot that's appropriate for snowshoeing, as well as shoveling snow, and playing king of the snow pile at school:

Temperature rating—If the boots don't have a temperature rating, don't buy them. No rating can be a sign that the boots aren't intended for extended forays into the cold. Look for a boot rated to -20 C/-5 F or lower. It's best to err on the side of too warm than too cold. Everyone's different, and what will keep some kids' toes toasty at -20 C will let others' toes freeze at -10 C.

I thought I told you to get up!
No hiking boots—On warmer days, an adult can get moving fast enough to keep his/her feet warm enough in hiking boots. Kids on the other hand generally move slower and stop more. This means their bodies aren't producing as much heat, and their blood isn't circulating that heat to their hands and feet as efficiently. (The stopping can also keep parents from moving enough to stay warm, so you might want to forgo the winter hiking boots, too.) Hiking boots also have low cuffs, but more about that below.

High cuffs—The higher the boot goes up your kid's legs, the better. Snow up to your ankles will go halfway up the calf of 6-year-olds and right down the cuffs of their boots. Once their socks are wet, the fun is over and the clock is ticking on how quickly you can get back to the car.

Are any of you even listening to me? So help me, if you get cold feet...
Drawstrings on the cuffs—These are far from perfect, but they'll keep some snow out of your kids' boots. Just remember to tighten them before you hit the deep stuff. And make sure snow pants are pulled over the boots, not tucked in.

Waterproof—You'd think it would go without saying, but make sure the boot is waterproof. Many winter boots are made of materials that will actually soak up water. Or they're made with waterproof material, but leak through the seams.

Finally, don't over-tighten your kid's snowshoe harnesses. They can be wearing the warmest boots you could find, but their feet will still freeze if the harness is cutting off the circulation to their toes. Also, bring extra socks and dry footwear for the drive home. There's nothing in the backcountry as ornery as a bored kid with wet feet.

Field Tests:

Mack and Michael have field tested a lot of boots. Three brands that have consistently kept their feet warm and dry are Baffin, Sorel and Kamik. Unfortunately, the Schmaltz family gear suppliers are too cheap to shell out for those fancy new neoprene boots like Bogs, so the boys can't comment on how warm they are. But my guess is that the big pull holes on either side and lack of drawstrings would soon let in the snow.

Need help picking out kids snowshoes? Read this post:

Kids Snowshoeing Gear: Picking out Kids Snowshoes

Wondering where to go snowshoeing with kids? Read these posts:

Snowshoeing with Kids in Kananaskis: River View Trail
Snowshoeing with Kids in Banff: Lake Minnewanka
Snowshoeing with Kids in Kananaskis: Hogarth Lakes
Heli-snowshoeing with Kids in Kananaskis
Snowshoeing with Kids in Kananaskis: Canyon Creek
Snowshoeing with Kids in Kananaskis: West Bragg Creek


Anatomy of a good boot by Baffin: -60°C/-76°F Rating (for the family that vacations in Antarctica), high cuff, drawstring, waterproof.

Sunday 27 January 2013

Kids Outdoor Skills: Avalanche Safety Video for Teens

I went skiing with my 8- and 12-year-old boys at Norquay, and we saw the Banff parks people doing avalanche bombing at the top of the mountain. Answering the boys' questions about why the ski patrol was intentionally setting off avalanches got me thinking that it's time to start teaching my kids about avalanche safety.

When I was growing up, there were few outdoor courses on avalanche safety or anything else. As with many things, kids--and parents--have it easy these days. There are plenty of avalanche safety resources out there for kids, although they can be hard to find. Unfortunately, a lot of parents and kids don't know where to look, or even that they should look. If they think of avalanches at all, they're something cool that happen in movies or to hardcore backcountry skiers and ignorant snowmobilers.

One excellent avalanche safety resource for kids is The Fine Line. Available on DVD and online, it's a movie that tweens and teens going into avalanche terrain should watch. Actually, any youths going anywhere with snow on a hill should watch it: snowshoers, hikers, cross-country skiers, backcountry skiers and boarders, resort skiers that could be tempted to duck under the rope and poach a closed run...It's pretty good for adults, too.
Basically, The Fine Line tricks kids into learning the basics of avalanche safety by disguising "education" as an extreme ski/snowboard movie. It mixes avalanche safety information in with alternative rock (can't hear Wintersleep's "Weighty Ghost" too many times), a plasticine history of the world, massive avalanches, crazy pros skiing and boarding epic lines, and people telling their stories of getting caught and buried by avalanches. It's raw and real, and it doesn't condescend to kids (warning: there are a couple bad words in it). The movie doesn't take the place of an avalanche safety course taught by certified instructors, but it will get kids thinking and taking avalanche risks seriously.
You can order The Fine Line on DVD from the Canadian Avalanche Centre, or watch The Fine Line on Amazon Instant Video. The DVD has the movie and four training films, although I don't know what the Amazon version includes.

If you know about other avalanche safety material geared towards young people, let me know and I'll post it.

Thursday 24 January 2013

Jean-Michel Cousteau Family Camp on California's Catalina Island: Reality is the Best Theme Park

The High Ropes Course
It's the end of January, the days are getting longer and the sun is getting warmer. The time of year when the Canadian brain lets itself look forward to summer and think about where to go for vacation. In our family, one of my patented Dad's Adventure Vacations is a given. In the past these have included white water rafting on the Kicking Horse River and Toby Creek, heli-hiking in the Cline River area, and the Columbia Ice Fields. Last summer, we also went to the Jean-Michel Cousteau Family Camp on California's Catalina Island. The kids liked it so much we're thinking of going back this summer.

Before last summer, we'd never been to a family camp. I'd never even considered going to one. But when I started planning last February, I heard about the family camp at the Royal Tyrrell Museum and told the boys about it. The decision to go was easy. Who can resist digging for dinosaurs? Then I heard about the Jean-Michel Cousteau family camp that was happening a couple weeks after the Royal Tyrrell camp. The reception from the boys was lukewarm. Although I grew up watching Jean-Michel's dad, Jacques, on TV, they'd never heard of him. Or Catalina Island. Or actually been to a family camp. So we packaged Catalina Island at the end of a family vacation to California: SeaWorld, Universal Studios, Disneyland, Catalina Island. Little did we know that the camp would be everyone's favorite.

Learning to stand up paddle board
Don't get me wrong, the theme parks were fun (full disclosure: although we live in Canada, we've had season passes to Disneyland twice in the past, and the boys have been there at least 10 times...judge not lest ye be judged yourself), but their engineered rides and structured excitement paled in comparison to the real-life experience of the camp. Where the animals and people at SeaWorld are separated by plexiglass, the boys were able to snorkel among the fish and kelp from the camp's beach. Where the kids at Disneyland rushed past each other on the way to the next ride, at the camp they interacted with each other on a very personal, basic level. And where Universal Studios reveals the magic that happens behind the scenes to bring stories alive onscreen, on Catalina the parents and kids created their own magic. It didn't hurt—for me at least—that Jean-Michel Cousteau sat with just the four of us for a few meals and talked about his adventures growing up on the Calypso.

It's fast. It's fun. It's ga-ga.
Getting ready to snorkel through a kelp forest
The snorkeling, paddle boarding and kayaking (Michael and I followed a playful sea lion across the bay one morning) were amazing, but the best part was the freedom. Although there were daily planned activities like archery, the high ropes course, stand up paddle boarding and guided snorkeling, you could also do your own thing. Want to go snorkeling? Walk into the dive shack, grab some gear and go. Want to go stand up paddle boarding? Grab a board and paddle. Tide pooling? Take a walk to the rocks at the end of beach.

The time we spent playing as a family was golden. So was the time Mack and Michael spent off with their new friends. There was always a game of ga-ga for them to join or kids on the water trampoline who were more than happy to push them off and be pushed off. Kids could be kids, and parents could be...relaxed.

Tide pooling
Will we be one of the families who go to Catalina every summer, some for over a decade? Probably not. There's a whole world out there to explore. But we'll definitely go back. If not this summer, then next.

Interested in other family camps? Read this post:
Family camp at the Royal Tyrrell Museum
The camp at sunrise


Wednesday 23 January 2013

Kids Fitness: Winter Workouts for Kids, Part 2

Old school kids fitness: The snowball fight
This is part 2 of Kids Fitness: Winter Workouts for Kids. With today’s sedentary, electronic lifestyles, getting kids moving and active can be a challenge at the best of times. In the Canadian winter, prying kids away from their video games is…more difficult yet critical to their fitness today and setting them up for a lifetime of year-round physical activity. Here are five activities that will get you and your kids moving and having fun when the snow is flying.
  1. Parent/kid fitness class—Let’s face it, running isn’t much fun. I started when I was 16. Two chronic running injuries (plantar fasciitis on the left and IT band syndrome on the right) and a ruptured disc in my neck later, and I can’t run on regular basis anymore. But I can run once a week in a parent/kid running course at our local recreation centre (the Westside Recreation Centre in Calgary). Mack says he doesn’t like it, but when the class ends and you ask him if he’d like to sign up for the next class he always says yes.
  2. Snowshoeing—You don’t have to drive out to the mountains to have fun snowshoeing for a couple hours. Any urban park with snow will do. You don’t even need enough snow to need snowshoes. There’s something about having snowshoes on their feet that makes kids find ways to have fun. They’ll run around, explore places they’d otherwise walk past, and have a blast.
  3. Walking to school—It doesn't get any more old school than this, and there’s nothing like walking to build your aerobic fitness. When Mack started grade seven, he wasn’t allowed to take the school bus anymore. Now he and Michael (grade three) walk to and from school, which is 10 or 15 minutes one way. Michael actually prefers walking to taking the bus. Go figure.
  4. Snowball fights—Talk about fun. Yet how often do you see kids outside pelting each other with snowballs? Pick teams and home bases, or declare every man for himself, and let the battle commence.
  5. Wii—Yes, a video game. But leave Lego Star Wars and Mario Kart on the shelf. Games like Active Life Explorer and Just Dance 4 are fun, get you're heart rate up, and give you a full serving of aerobic exercise in every session. Like swimming in Kids Fitness: Winter Workouts for Kids, Part 1, these games are excellent alternatives when it's just too cold to go out.

Tuesday 22 January 2013

Kids Fitness: Winter Workouts for Kids, Part 1

When done correctly, shoveling snow is a competitive sport
I’m assistant coach for my 8-year-old son’s indoor soccer team. After the last game a parent asked the coach about workouts her son could do to get in better shape. Coach Tim suggested bike riding and going for walks. He was on the right track, but considering that it was the middle of January, -10 C outside and the ground was covered in snow, he wasn't very helpful.

With today’s sedentary, electronic lifestyles, it seems that even two practices and a soccer game a week aren’t enough to keep kids in shape. The Canadian winter doesn’t help. Too many kids park themselves in front of the computer or Xbox from October to May, with some extending the gaming season through the summer. Yet, winter is the favorite season of my 12-year-old son Mack and myself. Here are some activities that will keep you and your kids moving—both inside and outside—through the snowy months. Note that I said you and your kids. Nothing motivates kids to get active like seeing their parents get off their butts.
  1. Shovelling snow—Just like swinging a kettle ball over your head is an old-school full-body workout for adults, shovelling snow is an old-school full-body work out for kids. Show them how to lift with their legs and they’ll work their calves, quads, hams, glutes, abs, lats, delts, traps, pecs, tris, bis, and pecs , as well as build their aerobic fitness. You can turn shovelling snow into a game by challenging them to see who can make the biggest pile of snow by the end of the winter, or turn it into a family quest to build a single, giant pile.
  2. Wall climbing—According to the February 2013 issue of Outside, wall climbing is kinda sorta maybe displacing zumba as the next big thing in fitness. Even if you don’t climb yourself, you can take an hour course to learn how belay your kids and crawl up the wall yourself.
  3. Swimming—Nothing beats swimming laps in a lesson for fitness, but it’s not very fun. If your kids balk at swim lessons, take them to nearest wave pool for an hour or two each week. You’ll both burn off a ton of calories and build your aerobic base. This is perfect for days when it's way to cold to go outside.
  4. Tobogganing—Tobogganing combines all the benefits of stair climbing with speed, crashes and laughing. Except that those crazed fitness addicts usually do stairs in skimpy running clothes and lightweight running shoes. Your kids will be wearing bulky snow pants and trudging through snow and ice in heavy winter boots, adding to the fitness value.
  5. Skating—I told my kids that in Canada, everyone needs to know how to do three things: ride a bike, swim and skate. This is an activity that they’ll be able to do their entire lives. My 78-year-old mother still skates once a week, and she’s one of the youngest people I know.
Go to Kids Fitness: Winter Workouts for Kids, Part 2 for five more winter workouts for kids.

Sunday 20 January 2013

Kids Snowshoeing Gear: Picking out Kids Snowshoes

MSR Shift snowshoes in action
The question of how to pick out a kids snowshoe came up on the discussion board of the Mountain Mamas (& Papas). When I started snowshoeing in Scouts, you had two types to choose from: oversized wood and sinew tennis rackets, and longer wood and sinew "Iroquois" style snowshoes. Both had leather bindings that were prone to icing up. There were no spikes or teeth or fangs on the bottoms. There were no step-in bindings that you tighten by turning a knob.

Good traction makes a big difference on hills
For snowshoes, as with most things, I prefer simplicity. Fewer moving parts mean fewer things to break or freeze up in the backcountry. I also prefer snowshoes with good traction. Even if you aren't going to be climbing mountains, having enough teeth on the bottom of your snowshoe will let you go up moderately steep hills with ease and descend them without your snowshoes slipping out beneath you. Many is the time I've watched people on cheap rented snowshoes slide their way down from Rummel Lake or Chester Lake, never to go snowshoeing again. The right snowshoes will increase the odds of your kids snowshoeing more than once.

My snowshoes are MSR Lightning Assents. They have aggressive traction built into the frames, in addition to toe crampons and cross bars with teeth, and heel lifts that make going up steep hills feel like climbing stairs. They're fantastic, but you can spend half the money and get a great snowshoe with many of the same qualities. The heel lifts are a nice-to-have, but most people don't need them and even fewer actually use them. For adults, the MSR Evo or Evo Tour (approximately $139 and $169) are great, and I bought my kids (8 and 12) MSR Shifts ($90). For younger kids, I'd recommend the MSR Denali Tyker ($60). I've seen them in action against other snowshoes in what I'll call the "mini" segment of the market, and toddlers on Tykers seem to be able to go a lot farther.

MSR Shift Snowshoes for kids. Note the two traction bars and teeth at the toes.
The bindings on all of these snowshoes are simple rubber straps that aren't prone to icing up and that even kids can get on and get off. They're also very light weight snowshoes. Best of all, they're no more expensive than other snowshoes, but can increase your odds of having a fun time.

Wondering where to go snowshoeing with kids? Read these posts:

Snowshoeing with Kids in Kananaskis: River View Trail
Snowshoeing with Kids in Banff: Lake Minnewanka
Snowshoeing with Kids in Kananaskis: Hogarth Lakes
Heli-snowshoeing with Kids in Kananaskis
Snowshoeing with Kids in Kananaskis: Canyon Creek
Snowshoeing with Kids in Kananaskis: West Bragg Creek

Note: MSR didn't pay me anything to write this review.

Friday 18 January 2013

Snowshoeing with Kids in Kananaskis: River View Trail

The campground road to the trail head.

Examining animal tracks.
The River View trail in Kananaskis, although not a designated snowshoe trail, is a fun little path through the trees when you only have an afternoon and don't want to spend most of it in the car driving deeper into the mountains.

Located on the east side of the Rockies, southwest of Bragg Creek, River View trail doesn't always have a lot of snow so save it for the weekend after a big dump. Because it's not one of the designated snowshoe trails in Kananaskis, once you turn off the campground road you'll usually be following someone else's tracks, but the snow isn't always so packed down that you don't need snowshoes. Along the way you'll wind through evergreens, along the frozen Elbow River, and have options to wander off trail and make the snowshoe longer or shorter than usual 4 km round trip.

However, on this kids snowshoeing trip to River View trail, we didn't actually do the River View trail. We had too much fun on the snowshoe from where we'd parked on the highway outside the locked Paddy Flat's campground gates to the trail head, which is also the start of the Paddy's Flat interpretive trail. What should only take five minutes took us an hour.

Extreme snowshoeing
 Almost straight out of the car (after we'd gotten unstuck. NOTE: park on the side of the highway, not in front of the gate. Even if the snow doesn't look that deep), the boys were alternately stopping to examine animal tracks and chasing our dog through the half-meter deep fresh snow. Most of the tracks along the campground road were obliterated by snowshoe track, but Mack and Michael were able to follow what was probably a lynx the entire way to the start of the interpretive trail.

A closed campground in winter takes on an entirely different feel than when it's open in the summer. What is usually an orderly arrangement of roads, cars, campsites, and campers becomes a wide-open playground. Suddenly, the normal rules don't apply and you're free to roam. The signs are no longer in effect. We cut through campsites, wandered through the trees and slid down the hill between two of the campground's "loops". Even the playground took on a different vibe, and the boys spent a half-hour extreme snowshoeing down the slides.

Unfortunately, the sun starts getting low in the sky early in January. We could see the trail head from the playground, but we didn't have time to go any further. So when the mitts were soaked and ice frozen all the way around the tops of boots we headed back to the car and home. With a stop at Bragg Creek for a post snowshoe ice cream cone, of course.

Distance: 4 km return
Elevation gain: Negligible
Hiking/Exploring Time: 2 to 4 hours
Driving Directions: Heading south on Highway 22 from the Trans-Canada, go straight through the traffic circle. At Bragg Creek, turn left at the four-way stop. You'll come to a T-intersection. Turn right onto Highway 66. Follow this to the entrance to Paddy's Flat campground and park on the side of the highway.

 CLICK HERE FOR A DRIVING MAP

Wondering how to get started? Read these posts:
Kids Snowshoeing Gear: Picking out Kids Snowshoes

Wondering where else to go snowshoeing with kids? Read these posts:

Snowshoeing with Kids in Banff: Lake Minnewanka
Snowshoeing with Kids in Kananaskis: Hogarth Lakes
Heli-snowshoeing with Kids in Kananaskis
Snowshoeing with Kids in Kananaskis: Canyon Creek
Snowshoeing with Kids in Kananaskis: West Bragg Creek 


The trail head


Wednesday 16 January 2013

Snowshoeing with Kids in Banff: Lake Minnewanka

One of the great things about snowshoeing with kids is that you can do it just about anywhere there's snow. You don't have organize an official trip like the kids snowshoe expedition I lead at Hogarth Lakes. I leave our snowshoes in my rooftop Yakima cargo box just in case.


Following the signal to our buried "victim".
On this particular trip, we'd headed off to Banff with no particular plans. At one point, we found ourselves in the parking lot at Lake Minnewanka. What to do? Snowshoe!
Digging the "victim" out.

Letting the boys lead, we found ourselves heading through the trees behind the closed food services building and soon popped out at the picnic area. After a half hour of playing around, I pulled out a couple avalanche transceivers, which were in my pack from a snowshoe trip into avi terrain the weekend before (sans kids that day). Taking turns, one of the boys would bury my old analog transceiver and the other would have to find it with my newer digital model. Not only was this a blast--we didn't just go snowshoeing, we went treasure hunting--it was also a great way to introduce the boys to avalanche safety. When you play in the Canadian Rocky Mountains, with its often unpredictable and treacherous snow pack, you can never start them too young.

While not every parent has an avalanche transceiver, let alone two, you could easily do this with a group. All you need is a couple parents who have transceivers, and you've got yourself a winter treasure hunt. Transceivers are deliberately easy to use, and any kid old enough to read numbers can follow the signal to find the buried victim.

Wondering how to get started? Read these posts:

Kids Snowshoeing Gear: Picking out Kids Snowshoes

Wondering where else to go snowshoeing with kids? Read these posts:

Snowshoeing with Kids in Kananaskis: River View Trail
Snowshoeing with Kids in Banff: Lake Minnewanka
Snowshoeing with Kids in Kananaskis: Hogarth Lakes
Heli-snowshoeing with Kids in Kananaskis
Snowshoeing with Kids in Kananaskis: Canyon Creek
Snowshoeing with Kids in Kananaskis: West Bragg Creek 


Saturday 12 January 2013

Snowshoeing with Kids in Kananaskis: Hogarth Lakes

When I take kids hiking or kids snowshoeing, the goal usually isn't to reach the end of the trail. It's to have fun. Luckily the Canadian Rockies are full of places to have fun in summer and winter. Kananaskis and Banff have a wealth of hiking and snowshoeing trails that are perfect for kids. One of those places is Hogarth Lakes in Kananaskis.

Starting at the Burstall day use area, we followed the trail a hundred meters or so and turned right at the sign marking the Hogarth Lakes snowshoe trail. This took 20 minutes, as the kids repeatedly dove off the trail and down the short, steep and deep hill to the left. There was at least a meter of snow, deeper than most of them had ever seen. Eventually we were able to coax them away from their snowy frolick and onto the main trail...where they proceeded to jump off the snowshoe tracks and into the even deeper snow.

I'd had hopes of making it all the way around the flat 5 km loop that winds past Mud Lake and the two or three ponds that make up Hogarth Lakes. Maybe even leave the trail, head north through a very low pass, and check out the Burstall Lakes and an avalanche impact pool I'd snowshoed to a couple years before. However, I quickly gave up these hopes when I saw how much fun the kids were having rolling in the snow and climbing snow banks beside the trail and sliding down them.

After a couple hours we'd probably covered a kilometer, and the kids were soaked with snow down the back of their coats and in their boots. It may have been the fact that their wet clothes were slowly freezing or it may have been the promise of ice cream (I find that ice cream is a better post-snowshoe bribe than hot chocolate; go figure), but the snowshoe back only took half an hour.

For the more adventurous, the Burstall day use area can be the starting point for a wide variety of fun. Turning left where we'd turned right onto the snowshoe trail leads to Burstall Lakes and Burstall Pass (avalanche terrain; don't take kids beyond the avalanche transceiver practice area). Taking another left off the main trail to Burstall Lakes leads to the next valley over, where you can find some good bushwhacking (again, this eventually leads to avalanche terrain, so don't take kids there unless you're experienced and can recognize where to stop).

Distance: About 5 km for the full loop
Elevation gain: pretty flat
Snowshoeing/Exploring Time: 2 to 5 hours
Directions: West on the Trans-Canada to Highway 40. Follow the 40 south to Kananaskis Lakes Trail and turn right. In a couple of kilometers, turn right on the Smith-Dorrien/Spray Trail. In 22 kilometers turn left into the Burstall day use area. The drive south from Canmore is shorter distance-wise but takes longer because the road isn't paved

Click here for a driving map.

Wondering how to get started? Read these posts:

Kids Snowshoeing Gear: Picking out Kids Snowshoes

Wondering where to go snowshoeing with kids? Read these posts:

Snowshoeing with Kids in Kananaskis: River View Trail
Snowshoeing with Kids in Banff: Lake Minnewanka
Snowshoeing with Kids in Kananaskis: West Bragg Creek
Heli-snowshoeing with Kids in Kananaskis
Snowshoeing with Kids in Kananaskis: Canyon Creek


One kid and one parent on the trail, two kids in the snow.

Friday 4 January 2013

Caving with Kids in Hawaii: Kula Kai Caverns

Look closely and you can see the paws of Bert the Caving Canine
A giant room in Kula Kai Caverns
For the adventurous parent, finding non-beach activities you can do with kids while vacationing in hot spots can be a problem. Which isn't to say that I don't like beach activities. A couple days ago we got back from the Big Island of Hawaii sporting tans and swim suits that needed the sand washed out of them. We spent entire days in the hotel pools and the beach, went snorkeling and SNUBA (yes, SNUBA) diving, saw a couple humpback whales from the snorkel boat, and even spotted baby dolphins jumping out of the ocean while we took off our mask and snorkels. Any day you see baby dolphins jumping is a good day.

But going to the top of 4,200 m/13,800 ft Mauna Kea to take in what's reported to be the world's best star gazing? Nope. They don't allow kids under 14 to the top due to the altitude. Ocean kayaking? My 8-year-old was too young. Then I came across a brochure for the Kula Kai Caverns, which allows 8-year-olds on their 2-hour lava tube tour.

Descending deeper into the lava tube
Located on private land a 2-hour drive south of our hotel on the Kohala Coast, I booked the tour on our last day on the island. Our flight didn't leave until 7:30 p.m. and we needed something to do. We arrived half an hour early, and expected wait until our tour started. Instead, we were welcomed into the thatch-covered yurt for an orientation of the lava tubes we'd be exploring and fitting of helmets, gloves and knee pads. Then the three of us, Michael (8), Mack (12) and myself were led outside and down into the best tour on the island. Led by Rick and Rose, a husband and wife team of spelunkers that have spent the last two years mapping the caverns, the tour was an authentic, non-touristy trek into a 30-mile network of lava tubes below Mauna Loa.

As an outdoor experience, the caving felt more like a trip you'd find posted on the calendar of the Calgary Outdoor Recreation Association. Rick and Rose are clearly passionate about the lava tubes they've mapped and documented, and shared its geologic and archeological history with us in terms an 8-year-old could understand. They showed us stone rings used to hold water-collecting gourds before Captain Cook landed on the island, along with the remnants of torches ancient Hawaiians used to light their way through the tubes. We sat in giant underground rooms formed by flowing lava, turned off our head lamps, and sat in total, complete darkness.

For over two hours, all three of us were completely engaged. A month earlier I had actually watched a volcano erupt in the distance from just below the summit of Ecuador's 5,700 m Antisana, and here I was totally in awe of what I was experiencing under a volcano in Hawaii. I was expecting something like our hikes in the mountains, when I get to re-experience their mystery and beauty through 8- and 12-year-old eyes. Instead, I got to share a totally new experience with those eyes. And if walking under an active volcano with kids doesn't bring out the inner kid in you, I don't know what will.

For more info, go to: www.kulakaicaverns.com
Crawling through a tight squeeze in the Kula Kai Caverns

The lava tube entrance Mack (front), Michael (middle), Rick (behind)

Exiting the lava tubes

Related Posts Plugin for WordPress, Blogger...